Windows 11! the new release from Microsoft has all the things that can make even a regular user to be excited about.
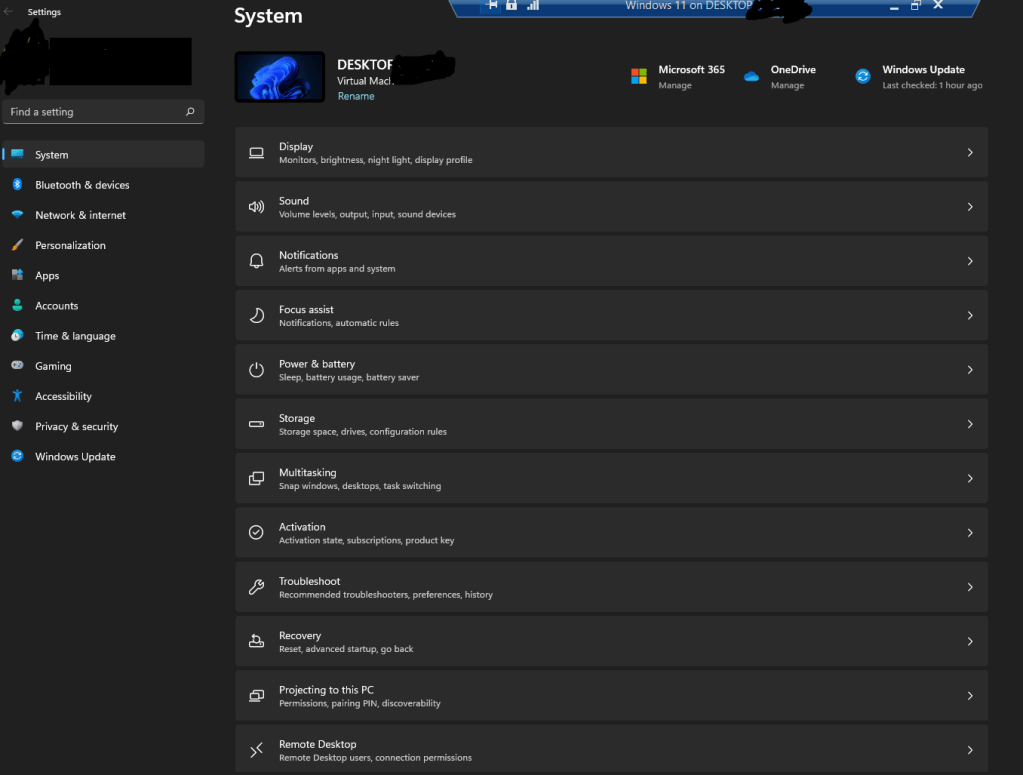
My favorite feature is redesigned ‘Settings’ app. It resembles the mobile settings of Android / Your Phone app UI and yes, its awesome.
I did my setup in a Hyper-V VM. Upgraded an existing Windows 10 VM to 11 by joining the Windows Insider Program in the DEV Channel.
There are many blogs that gives you step by step insight into setting up the Windows 11 machine in Hyper-V. While, I didn’t refer any of the below as it’s pretty straight forward, do check if you need any help. This ‘Windows Central’ link is very detailed enough.
How to try Windows 11 alongside Windows 10 using a virtual machine | Windows Central
In this post, I would like to share my learnings…
- Storage – Make sure your main Virtual Disk is minimum 35 GB. Anything less than this, you will have a hard time managing the windows updates. Yes a rookie mistake from my side. I had setup C: drive for 30 GB and had to play it safe by clearing temporary files , windows installation files etc., often. (Windows Central has mentioned a generous 65 GB. Yeah that will be enough for using Windows 11 even as your daily driver, if you like me believe in cloud storage).
- Maximizing the window size – Once you install Windows 11 in your VM and if you, like me, use a large monitor, you will see issues when you use an ‘Enhanced Session’ in the VM or try to change the VM window display size by using the slider of the VM properties. The VM will not even show you the login screen (at least for me). So instead of changing the VM Settings, login to Windows 11 and change the ‘Display Settings’. Here choose the right resolution you need (Best to match to resolution of the desktop / laptop that hosts the VM) and viola!.

That’s it from my side. If I observe any other issues in my VM, I will update this post.
Enjoy Windows 11. Hopefully I will soon get my hands-on Windows 365. Excited!
Cheers.
